Have you ever made chocolate truffles from scratch? If you've followed my previous blogs, you know I make them pretty often for parties (they're especially great for vegetarians and those on gluten-free diets, don't need their own plates or utensils, are so rich and decadent that most people only need one, and they take a lot less time than most desserts). Dark chocolate is better for you than cake, anyway- and goes a whole lot better with alcohol.
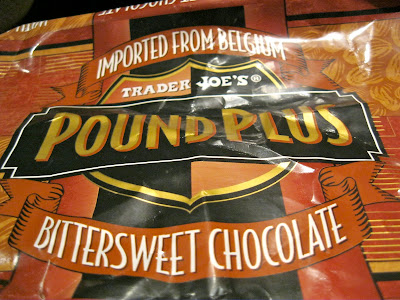
I love the Pound Plus chocolate you can get from Trader Joe's. It's the best value dark chocolate and is easy to work with. Only I totally spaced at the store, and snagged the kind with almonds in it, which inspired this new recipe (normally I prefer to make ganache without nuts because it's one less step).
This is the easiest way I know to make truffles. It takes some time to let everything cool and set, but takes less active time than most desserts. If this is your first time making these, read through all the instructions first. If it's a refresher, hopefully it is a simpler recipe.
So here's the recipe:
12 oz. dark chocolate with almonds
6 oz. heavy whipping cream
2 oz. whiskey
5 oz. chocolate reserved for enrobing
disposable latex gloves
Have the chocolate well chopped and in a separate bowl. To give myself a head start, I leave the chocolate in the package and smash it against a tile floor or hard countertop until the seams look like they'll rip. It will save you a few minutes of prep time because who really enjoys chopping up chocolate?
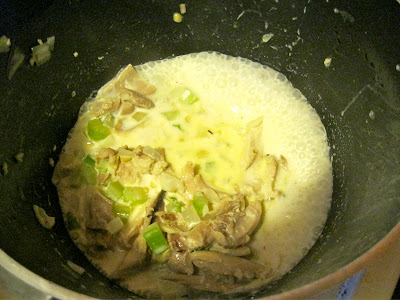
Boil the cream and pour over the chopped chocolate in bowl. Cover with Saran wrap and let it steam before you start stirring (stirring cools it down too fast without giving the chocolate the chance to melt completely).
Wait a few minutes to stir in the chocolate completely, then add your whiskey and butter. Make sure the butter is chopped up in little pea-sized pieces or it takes a surprisingly long time to melt and your ganache will risk having butter streaks in it. Every ganache recipe is better with butter incorporated- it leaves a silkier texture and adds a little salt to bring out the flavor.
Mix well. Then let it harden in the fridge with a layer of plastic to prevent condensation.
When it is set, you can start to roll it into balls. Don't worry about them being even because they are meant to be uneven and look like real truffles from the ground. Roll out all of the ganache and put into a freezer. It's okay if they're lined on a sheet pan or stacked in a bowl. This is where I strongly recommend wearing a pair of latex gloves. It keeps the chocolate from sticking to your skin and provides an extra layer of insulation between the cool ganache and your warm hands. It also will prevent fingerprints later when you pick up the truffles and make your life a whole lot cleaner.
Melt your reserved chocolate. Don't let it get too hot! And don't ever put over direct heat, just set a bowl above boiling water and take it off every few seconds to keep it from scorching.
Chocolate is messy and does not have a long wait time, so make sure you have an assembly line ready to go. The more organized you are, the more fun it will be to make them.
I have all the ganache rolled out so you don't have to worry about having to remelt the chocolate. This way you get it all in one shot. Since
tempering chocolate is its own beast, I have the melted chocolate a little on the warm side and the cold ganache makes them set up almost immediately. I like lining a sheetpan with plastic in case of drips. Start at the farthest end and line up the finished chocolate towards you so the new ones aren't dripping over.
Put a little melted chocolate on your palm and roll the truffle in it. It's that easy and you can see how quickly it sets up when the truffles are cold to start. You can also see how messy it is, even with the gloves! I find them essential.
You can put them back in the fridge to help them set up, especially if they'll be on a plate in a warm room. This is the best party treat because they're small and unexpected. They also last a few weeks if properly stored in the fridge, so it's a great thing to have in stock!
Please share your experience making them and let me know if there were any directions that needed clarification.


