Showing posts with label How To. Show all posts

Wednesday, March 13, 2019

Water Drum to Composter

We're getting ready for spring around here and I thought I'd share an idea the hubby came up with a few years back for an easy, clean composter.


First, take an old water drum. This one is 55 gallons and has a screwtop lid.


Drill holes on the bottom (for draining the dirt), then two on the side to put a bar in the middle for rotating the dirt. Attach to a pallet to keep it off the ground and the lid keeps critters out. The drum can be spun to shake and mix the dirt and create some yummy, yummy compost!


Here's a peek inside to see how the spinning mechanics work. We ended up donating this one to our son's school garden because our dirt needs are ever growing, but this would be a great option for the backyard gardener in areas with critters or pets.

What kind of spring and garden prep are you getting ready for right now? Share in the comments!

Thursday, May 24, 2018

Reupholstering with Burlap

Reupholstering was something I thought a Renaissance gal should know how to do, like chopping wood or hemming pants. But it can get expensive, so why not try it with something frugal like burlap?


These ghastly chairs made the perfect victims. Getting them apart was easy, just unscrewing the bottom from the back and making a simple slipcover. (Ahem, I did not follow any proper upholstery protocol at all!)


Sticking burlap is a little tricky due to the wide open weave and fraying, not to mention if you are doing weird patchwork tricks to jury-rig a wider piece of fabric.


This was done with absolute beginner sewing skills on the machine. Tidy hems will make it all the more polished and kick the shabby chic up a notch.


Here you can see the seam where more fabric was added, but I don't really mind it. In fact, I think it adds some personality.


This was an easy way to dive into reupholstering. What else could you burlap?!


Saturday, September 8, 2012

Curing Cast Iron

If you're like me, you love cast iron so much you want to see it treated the way it deserves- frequently and with respect. Nothing breaks my heart more than cast iron that sits in the back of the cupboard, never used.

I rescued one of these pans, a 4 1/2 quart dutch oven with handle. It wasn't in bad shape, but had never been seasoned properly.


I already have a newer "Lodge" mini cast iron (just right for frying a single egg). They are already seasoned for you, but I figured I'd give it another coat if I'm seasoning the dutch oven anyway.


Isn't it fantastic? It's amazing what some people don't want. I sanded off the rusty spots and scrubbed the pot out with soapy water (this is the only time to use soap- before you season it).

Then I dried it over the stove top and covered the entire surface with bacon grease, both inside and out.


Put into a 350 degree oven for at least an hour. The house will get a slight metallic smell to it specific to curing pans, but once you make that association, it's kind of a comforting smell. Turn off the oven and leave the cast iron in until completely cooled.


Once it is cured, do not use soap when cleaning. This improved a lot, but could probably use another seasoning at some point. Luckily the more you use, the better the seasoning. Maintained cast iron will last your lifetime and well into your grandchildren's.


I never knew what the numbers meant, since it was clearly not an 8 quart pot. I found a chart by PanMan, listing each model number and capacity.

There are zillions of cast iron enthusiasts out there, but a couple other sites I found with helpful info and recipes:

http://ramblingsoncastiron.blogspot.com/
http://blackirondude.blogspot.com/
http://www.chuckwagonsupply.com/

Sunday, August 26, 2012

Sushi for the Squeamish

Chuck got me a sushi mat way back at Christmas, but it's taken some major cajoling for me to make the move into Asian cuisine. Cooking it, that is, not eating it.


Now that I'm settled in my own place, experimental cooking is far easier, so the time has come for me to venture into uncharted territory. Ready, set, sushi rolls!

Here's what you need:
-sushi rice (please, please, don't try it with anything else)
-rice vinegar
-sugar
-nori (roasted seaweed for wrapping)
-fillings (I used avocado and ahi, but salmon, sprouts, tofu, carrots, etc. are great- whatever your fancy)

Before you begin, rinse your rice a few times before you cook it.


Cook your tofu or fish unless it is smoked or very, very fresh. I seared the tuna to a medium, just to be safe, but medium rare is ideal.


After you have cooked your rice, mix in a little rice vinegar and sugar. The same rules rice cooking rules apply, but sushi rice will be stickier to help bind your rolls.


When all your ingredients are prepared, get your mat ready. I lined it with plastic wrap to make it cleaner and keep the rolls from drying out.


Line your mat with a sheet of nori and a layer of rice, leaving a lip on one end for sealing it. There should be enough rice so you can't see through the nori. Keep dipping your fingers in water to help with the stickage.

Have sliced fillings ready.


Line them up in layers in the center of the rice. This ended up being a little too much filling, but allow yourself a learning curve and take note for next time.


Use the mat to press the roll over and carefully roll up as tightly as possible.


Wrap in plastic and chill, it will make them much easier to slice.


Alton Brown gives a great tutorial on making sushi rolls, but there are zillions out there. Have no fear!

Tuesday, May 15, 2012

Goddess Dressing in a Snap

I love this salad dressing so much, I would marry it if I could (but others should get priority ahead of me on that waiting list).

But seriously, this is great for so many reasons- it's thick and creamy, it has a little more substance than vinaigrette, but isn't as heavy as caesar. And the best part? It's vegetarian and vegan, so it makes the perfect addition to vegetable dips and salads for those finicky dinner guests (you know who you are).

It's also incredibly easy to make- barely 5 minutes to throw together in a blender. And it tastes as good as Annie's! I got this recipe from Jolinda Hackett- but here's the direct link.

Tahini "Goddess" Dressing
By , About.com Guide
My version of the tahini-based "goddess" dressing found in many health food stores and restaurants. If you like the store-bought goddess dressings, you'll love this easy homemade goddess salad dressing made with tahini, lemon juice and parsley. You might also want to try this recipe for goddess dressing with ginger.

Prep Time: 10 minutes

Total Time: 10 minutes

Ingredients:

  • 1/2 cup tahini
  • 1/2 cup apple cider vinegar
  • 1/4 cup soy sauce  (I use a little worcestershire or fish sauce to make it tastier, but then it's not vegetarian!)
  • 1 tbsp lemon juice
  • 1/2 tsp salt
  • 3 cloves garlic
  • 1/2 cup water
  • 2 tbsp dried parsley  (Oregano also works well)
  • 1 tbsp sugar
  • 1/2 cup oil

Preparation:

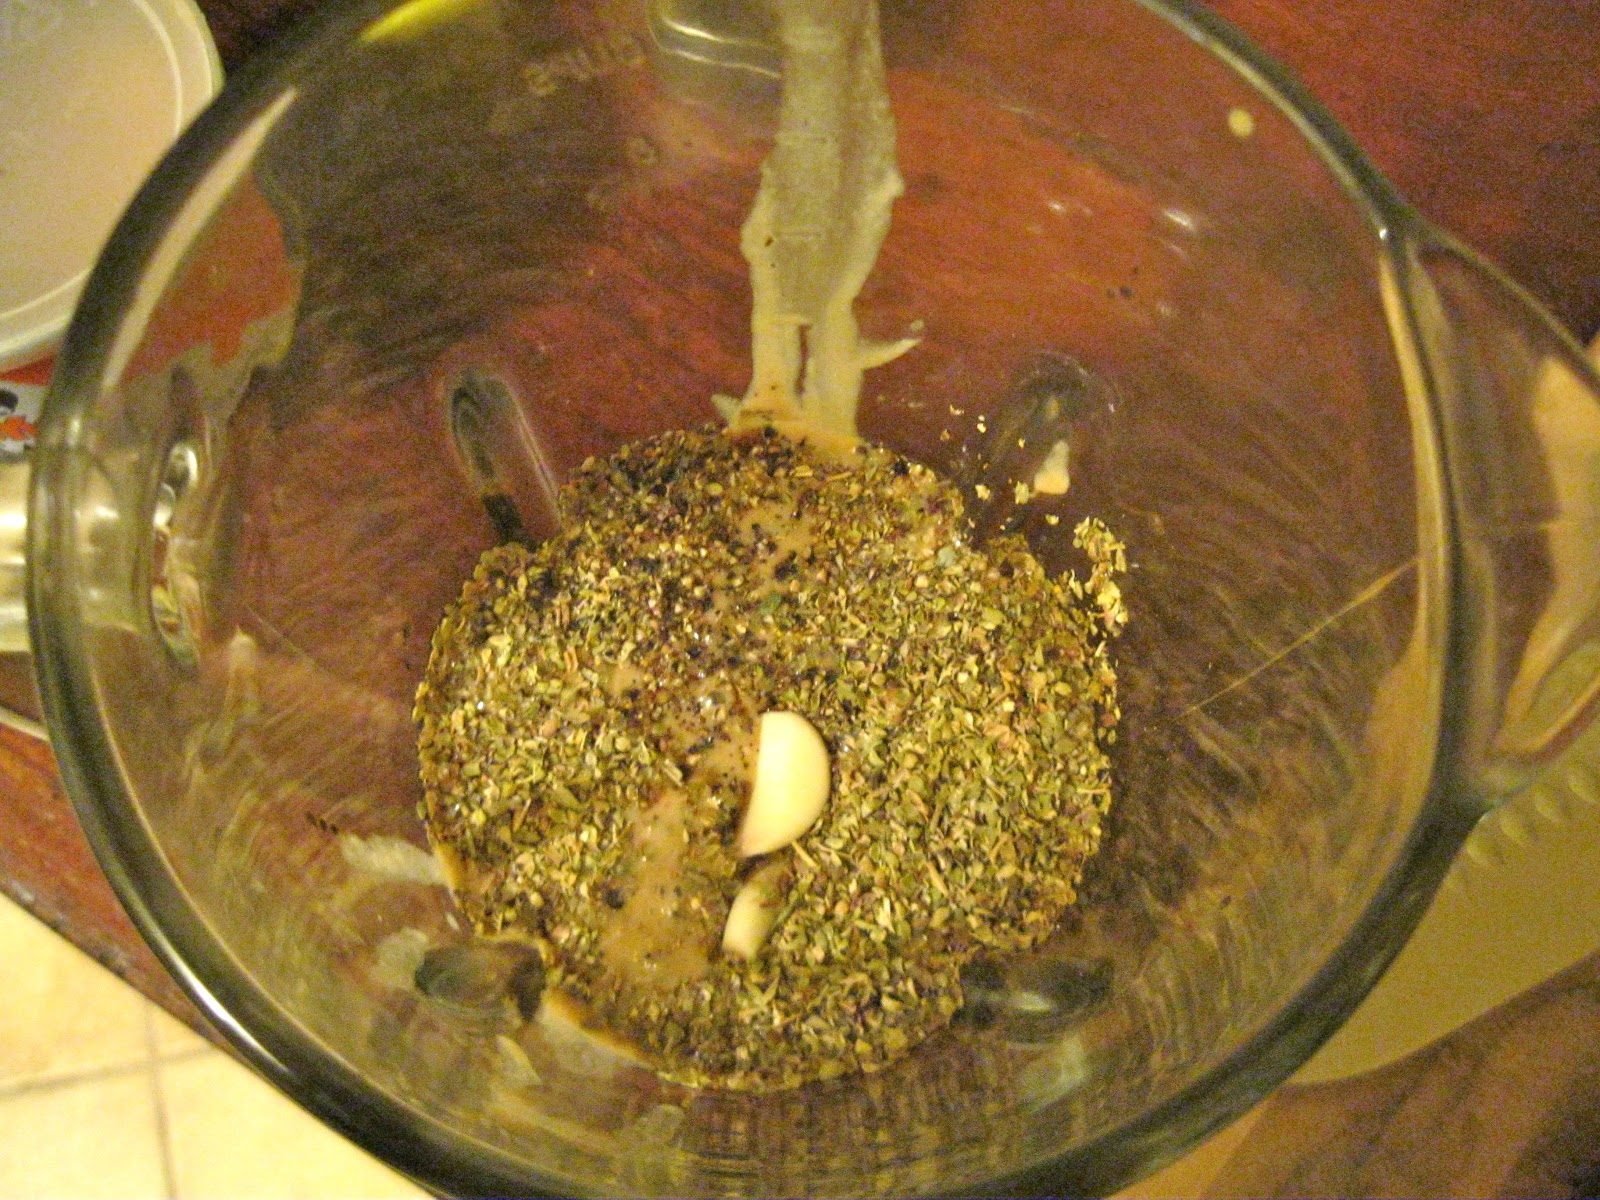
Add all the ingredients, except for the oil to a blender or food processor and puree until smooth and creamy. 


Slowly add oil until well mixed. Dressing will be thick, but you can always add a bit more water if you prefer a thinner consistency.


Monday, April 30, 2012

Mason Jar Chandelier


Walking around downtown Petaluma last weekend, I glimpsed in this antique store window and nearly kept on walking. Then, upon closer look ...


I saw a mason jar chandelier and my heart nearly stopped. And not only with mason jars, but blue mason jars!

I started looking around and found some more inspiration.

Here's a DIY version from Instructables. No wiring required.

What I really want are some tutorials from Boots N Gus on Etsy.

Come back when you're done window shopping, dear reader.

Thursday, April 5, 2012

The Vardo

With Maker Faire just around the corner, it seems like everyone's getting into the maker spirit around here.

And wouldn't you know, the master craftsmanship of Paleotool created this adorable, yet extremely funtional, gypsy caravan deemed "The Vardo"- complete with a bed, stove, and ample bookshelves for evenings hunkering down. Please make a point of checking out all the photos of the process. It's pretty amazing that so much attention to detail was flawless executed.

The Vardo, From Paleotool


Make Magazine shared this fantastic little gem in their blog. I hope to see it in person one day!


Tuesday, February 7, 2012

How To: Slicing Citrus Supremes

With this cold getting me down, I've been trying to hit the citrus and vitamin C with full force. Then I found my knife bag after 8 months of neglect and decided to see where my knife skills were at. But mostly I wanted vitamin C.

I recommend a mix of citrus for a sassier salad. I have grapefruit, naval oranges, and blood oranges. This is the best time for all of them (but sadly, I hear they're not doing so hot in California).

First, slice off the top and bottom where the stems are so you have a flat bottom to rest the fruit on. It gets slippery, so always cut away from yourself. Then start from the top and shave off the rind- it will mean cutting in a curve with a gentle sawing motion. It is best to do this in eighths or even tenths. If you are losing too much meat, then shave a smaller portion. See picture below for a better idea.


Holding the fruit in your hand, VERY carefully slice between either side of the membrane, removing only the juiciest flesh. Go slowly and carefully. And make sure your knife is very sharp. You can hold the fruit in a towel if you're nervous it will slip. (Sorry, I had to photograph this one-handed.)


The cut-out membranes will start to make a little accordion, just keep going. This is crucial French pastry technique. Your friends will think you're fancy!

When you are all finished slicing all the fruit, don't forget to squeeze all the juice out of the little accordion left over. It's the best part, and you will not need to add even a granule of sugar to the mix.

Enjoy, and laugh in the face of colds and flus.